Managing email clutter in Gmail is crucial for maintaining an organized inbox and ensuring efficiency in handling communications. Many users face challenges in decluttering their inboxes due to the overwhelming volume of emails received daily. In this article, we will introduce you the full guidance to mass delete emails on gmail effectively.

You may also interested in : Whatsapp local backup for Android
Part 1. Understanding Gmail’s Interface
Gmail’s user-friendly interface is designed to facilitate easy navigation and management of emails. At the heart of its efficiency are the search and filter features, which allow users to quickly locate emails based on various criteria such as sender, date, or specific keywords. For instance, typing “from:example@example.com” in the search bar filters emails received from that address.
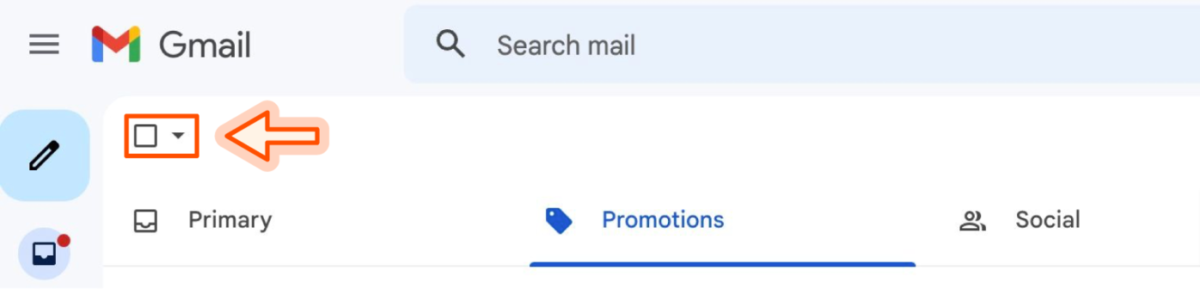
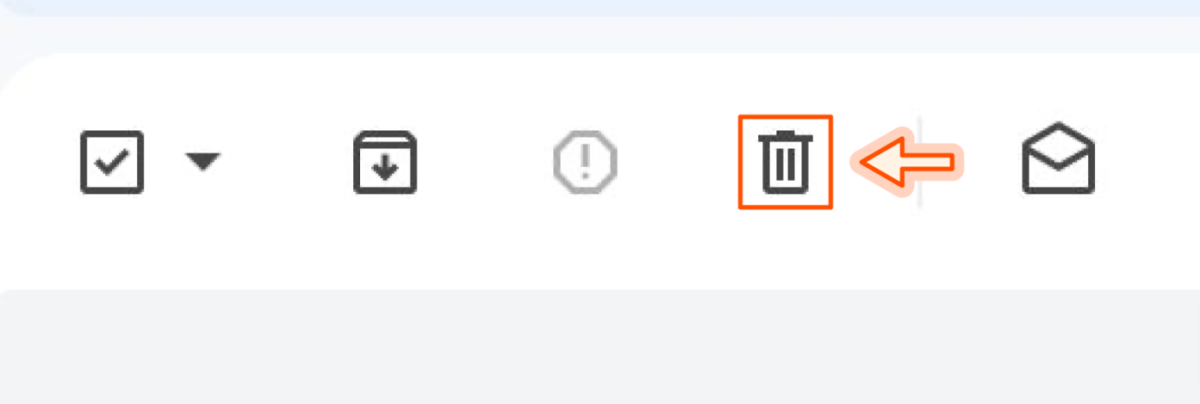
Moreover, Gmail categorizes emails into several labels and tabs such as Primary, Social, and Promotions, helping users segregate personal emails from bulk notifications or promotional offers. This categorization aids in identifying emails that are often not crucial and can be mass deleted. To execute a mass deletion, users can utilize the checkbox at the top of the email list to select all emails under a specific label or search result. After selection, clicking the trash bin icon deletes the selected emails, significantly reducing inbox clutter.
Understanding these features is key to efficiently managing and decluttering your Gmail inbox, making the mass deletion of emails a straightforward process.
Part 2. How to Mass Delete Emails on Gmail
Mass deleting emails in Gmail helps maintain an organized inbox. Follow these steps:
Step 1. Log in to Gmail: Open your browser, go to Gmail, and log in.
Step 2. Use Search to Find Emails: Use the search bar to locate emails you wish to delete. You can enter simple terms or use specific queries like “older_than:1y” to find emails older than a year.
Step 3. Select Emails to Delete: Click the checkbox above your email list to select all emails on the current page. For a broader selection, click “Select all conversations” that appear after the initial selection to include all emails in your search.
Step 4. Delete Selected Emails: Press the trash bin icon to move the selected emails to Trash. Gmail will automatically delete emails in Trash after 30 days, but you can manually empty the trash if you prefer.
Part 3. How to Mass Delete a Certain Type of Email on Gmail
To target specific emails, such as those from a certain sender or within a date range, follow these guidelines:
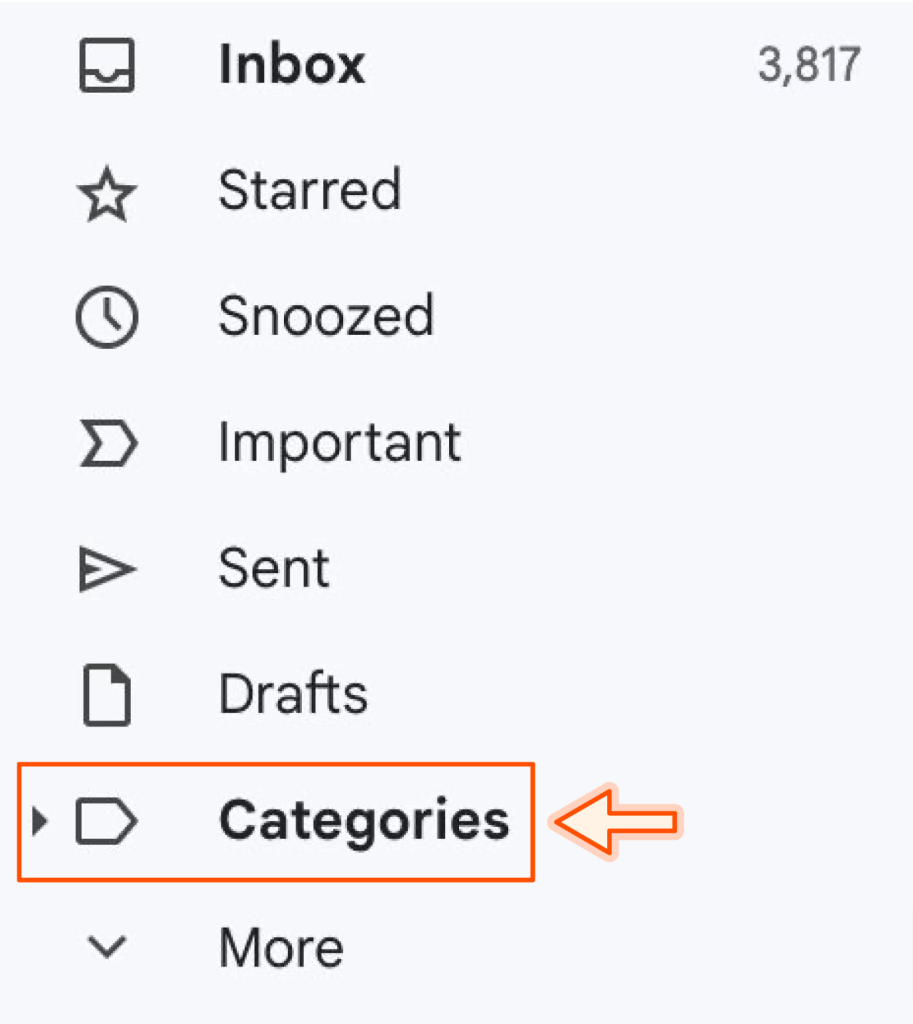
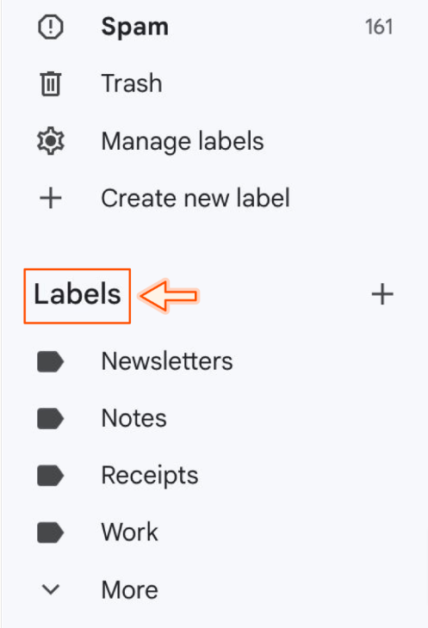
- Gmail Categories and Labels:
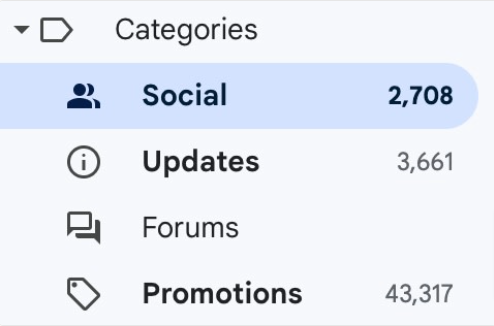
- Use the left-hand panel to select a category or label (e.g., Promotions). Then follow the mass deletion steps.
By Categories:
By Labels
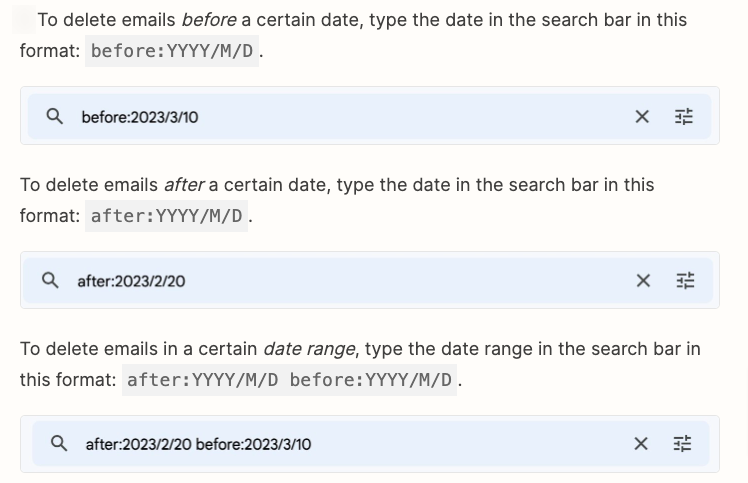
- Date Range:
- In the search bar, type a date range using the format “after:yyyy/mm/dd before:yyyy/mm/dd”.
Sender:
- To delete emails from a specific sender, type “from:” followed by the email address.

Read/Unread:
- For targeting read or unread emails, use “is:read” or “is:unread” in your search query.


Mass Selection and Deletion:
- After filtering, select and delete the emails using the process described in Part 3.

Part 4. How to Mass Delete Emails on the Gmail App
The Gmail app also supports mass deletion with a few simple steps:
Step 1. Open the Gmail App: Launch the app on your device.
Step 2. Search for Emails: Use the search bar at the top for finding emails.
Step 3. Select Emails: Tap and hold on an email to enter selection mode, then tap other emails to select them. While the app may not allow selecting all emails at once through search, you can manually tap to select multiple emails.
Step 4. Delete: Tap the trash bin icon to delete the selected emails. You may need to confirm your action.
By following these structured steps, users can efficiently mass delete emails, specific types of emails, and manage their inbox through both the Gmail web interface and the mobile app, ensuring a more organized and clutter-free email environment.
More useful tips you can learn: Hide apps on Android
Part 5. Advanced Tips and Tricks for Mass Deleting Emails on Gmail
Effectively managing a cluttered inbox requires more than just deleting emails in bulk. Here are advanced strategies to help you maintain a clean Gmail inbox over the long term.
1. Permanently Deleting Emails on Gmail
To permanently remove emails from Gmail, follow these steps:
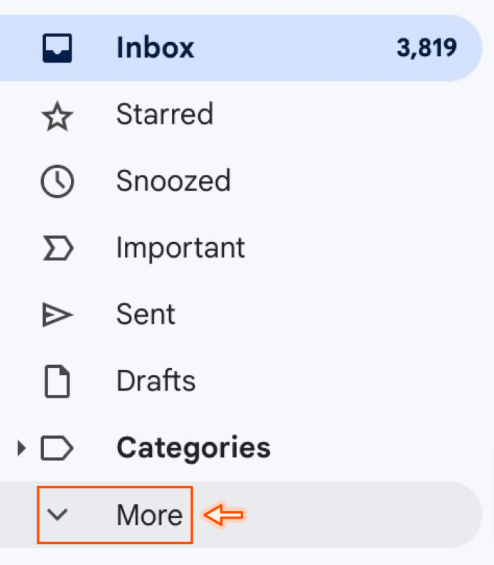
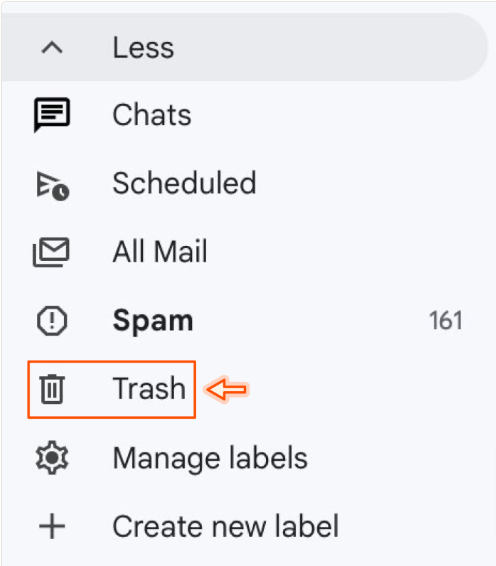
- Step 1: After mass deleting emails, navigate to the ‘Trash’ folder on the left sidebar.
- Step 2: Inside the Trash, click on the ‘Empty Trash now’ link at the top, which permanently deletes all emails in the Trash. Alternatively, select specific emails and click ‘Delete forever’ in the toolbar.

2. Recovering Deleted Emails on Gmail
Accidentally deleted an important email? Here’s how to recover it:
- Step 1: Go to the ‘Trash’ folder. Emails stay here for 30 days after deletion.
- Step 2: Locate the email(s) you want to recover. You can use the search bar within Trash for quicker access.
- Step 3: Select the email(s) and click on the ‘Move to’ icon. Choose where you want to restore the email, like your Inbox or a specific label.
3. Using Filters to Automatically Manage Incoming Emails
Automate email sorting and reduce clutter with filters:
- Step 1: Click the down arrow in the search bar to open the search filter options.
- Step 2: Enter your filter criteria (e.g., emails from a specific sender).
- Step 3: Click on ‘Create filter’ at the bottom of the search window.
- Step 4: Choose an action for these emails, such as ‘Skip the Inbox (Archive it)’, ‘Apply the label’, or ‘Delete it’. Click ‘Create filter’ to activate.
4. Setting Up a Regular Email Cleaning Schedule
Consistency is key to inbox management:
- Step 1: Decide on a frequency for your cleaning schedule (weekly, bi-weekly, or monthly).
- Step 2: Set a reminder on your calendar or to-do list app to dedicate time for inbox review.
- Step 3: During each session, unsubscribe from unwanted newsletters, archive important emails, and delete junk or old messages.
5. Using Third-Party Tools and Apps for Email Management
Enhance your email management with tools like:
- Clean Email: Aggregates and organizes emails from similar senders, making it easier to clean up large volumes of emails.
- Unroll.Me: Identifies subscription emails and allows you to unsubscribe from them in bulk or roll them into a single daily digest.
- Mailstrom: Offers powerful sorting and filtering options to quickly identify and manage large amounts of emails.
These advanced techniques and tools empower you to take control of your Gmail inbox, turning a potentially overwhelming chore into a manageable task. By incorporating these strategies into your routine, you can ensure your inbox remains organized, making it easier to focus on the emails that matter most.
Conclusion
This comprehensive guide to mass deleting emails in Gmail not only simplifies inbox management but also introduces advanced strategies for maintaining a clean and organized email environment. By leveraging Gmail’s built-in features, setting a regular cleaning schedule, and utilizing third-party tools, users can effectively reduce clutter and enhance their email productivity. This approach ensures a streamlined communication process, allowing for a more focused and efficient handling of daily tasks.